Kids riding bikes is great, right? Kids riding bikes safely is even better. If you are taking your kids out on their wheels, you will want them to be as safe as they can be.
How to adjust kids bike brakes so they are as safe as they can be? Let’s read on and find out the best ways to do this!
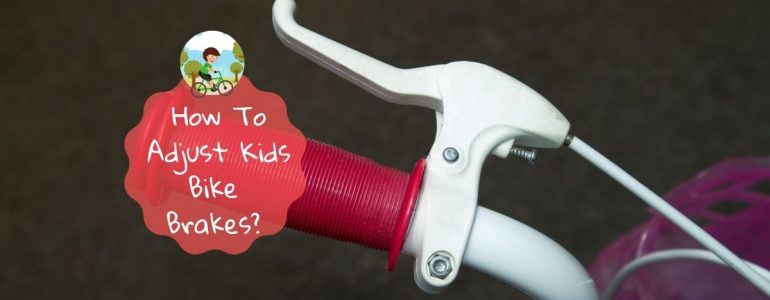
How To Adjust Kids Bike Brakes – 9 Steps
- First, check the brake pads. If they are too worn down to be effective, you will need to replace them before you do any kinds of adjusting.
- Pull the brake handles on your kid’s bike. They should start about 1.5 inches away from the handlebars; any closer and they’re too loose.
- You will find a small screw on the brake lever; tighten this and the lever will come closer to the handlebars.
- For a minor brake adjustment, loosen the barrel adjusters (these are silver barrels in between the brake handle and the cable) by turning them anticlockwise.
- If the brakes are too hard to pull, try tightening the barrel adjusters by turning them clockwise.
- If this doesn’t fix the problem, you may have to try a more complicated fix – but don’t worry, you won’t need specialist equipment!
- Unscrew the bolt which holds the brake cable onto the calliper (the main part of the brakes, that the brake pads are attached to).
- Pull the cable through a little, then screw the bolt back into place.
- Check the brake tension now, and you should notice that they are far more effective and more comfortable for your child.
This is a pretty long video, but it is worthwhile as it shows us how to adjust the brakes on all different models of bike brakes:
How Do You Adjust A Brake Lever?
If the brake lever is further than 1.5 inches away from the handlebars then it may not be effective.
On the brake lever, close to the handlebars, you will find a small screw. If you turn this, you will notice the lever getting closer to the handlebars.
Turn the screw just enough that your child can reach it, but not too far or the brakes will not work effectively.
If, once the lever is close enough to the handlebars but your child still finds it hard to operate, you will need to adjust the spring tension on the brake calliper.
It is pretty simple to do this; simply push the spring towards the wheel. You can use an old screwdriver for this – just make sure you don’t slip and mash your fingers!
Don’t push the spring too far, as it will still need tension in order to brake effectively.
How Can I Make My Kids Brakes Easier To Pull?
If your kids’ bike brakes are too tight, their little hands may not be strong enough to use them effectively, which could lead to accidents.
Another issue may be that the brake levers are too far away from the handlebars, which again may make it impossible for your kids to operate the brakes effectively.
Luckily, there are solutions to both of these problems!
- Start by loosening the small screw that you will find on the brake lever, just enough that it brings the lever to within 1.5 inches of the handlebars.
- Loosen the barrels on the brake cables slightly – don’t overdo it, as you want the brakes to still be effective.
- Adjust the brake cable by undoing the brake cable at the calliper end, and pulling it tighter (you will need an Allen key for this).
- Check that the brake pads firmly grip the tyre wall when you pull on the brake lever, to ensure that your child is as safe as they can be.
How Do You Adjust Calliper Brakes On A Bike?
Calliper brakes are actually very easy to adjust, and you don’t need to head to a bike doctor – you can do this yourself at home.
The first thing you should do is check that the brake pads align with the wheels. With the bike stationary, squeeze the brake lever and check that the pads grip the wheel.
Start by tightening or loosening the barrel adjuster. This is the small silver coloured barrel where the brake cable meets the handlebars.
If this has no effect, check the bolt that connects the brake to the frame. If this is loose your kids’ bike can move around as they ride, and the brakes won’t be effective.
You can also tighten the brake cable itself. Using an Allen key, loosen the nut holding the cable. Pull some cable through, then do up the nut and bolt again.
If you are not confident making these adjustments yourself, you can simply take the bike to a dedicated cycle shop, or an outdoor equipment department store.
If, however, you are happy doing it yourself, here is a little video which will take you through the steps:
Final Words
Now that you know how to adjust kids bike brakes, you can take your little ones on adventures with you and know that they will be able to stop safely.
Now all you need to do is teach them to ride one, and encourage them to enjoy this great outdoor sport!


