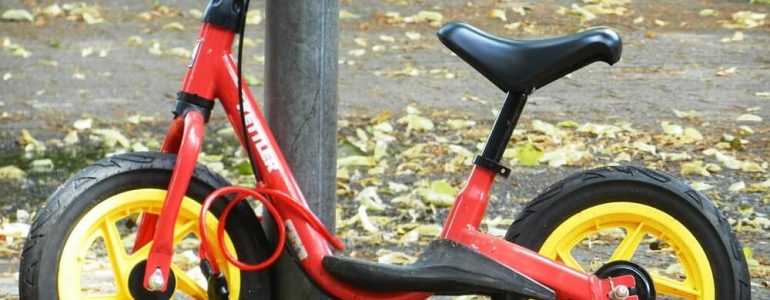
For kids, learning how to ride their first bike is an elementary rite of passage and a crucial milestone in their development. Not only does it encourage your child to get some exercise, but it also shows them how wonderful the great outdoors can be. Unfortunately, a whole lot of damages and wipe outs come with this important life-lesson – and that’s just the child.
Their bikes are the ones that really take the brunt of unimaginable abuse. But before we even get to the chain, pedals, bars, or even brakes, you’re going to want to learn how to deal with an array of flat, ripped, and worn tires.
In the long run, you’ll find that it’s always cheaper to fix punctures and change tires yourself as opposed to taking them to the bike shop all the time. What’s more, kid’s bikes have tires with the same format as most standard bicycles; so once you’re through here, you should be more than capable of changing all kinds of bike tires.
Enough chit chat, let’s find out exactly how to change a children’s bike tire.
What You’ll Need
- Wrench or correct size spanner
- Bike tire levers, butter knife or rounded off tools
- Bike pump
- Right size bike tubes and tires
- Needle nose pliers (optional)
- Long handled flat head screw driver (optional)
Step 1: Remove Wheel from Bike
As opposed to regular bikes which are fitted with quick release mechanisms for the wheels, children’s road bikes are often attached by bolts and screws. This is where your correct sized spanner comes in to help loosen the bolts. If you don’t have the right-sized spanner, an adjustable crescent wrench will do just fine. Once all the bolts are out, simply lift the old wheel completely off its axle and set it down.
Step 2: Deflate the Tire Completely
If the tire is not completely flat as in the case of a slow puncture, you’ll want to make sure that you get all the air out. That’s because even a slightly inflated tube is going to be a nightmare to try and pry loose from the rim. To do this, simply unscrew the dust cap and use the tip of your screw driver or valve tool to let all the air out of the tire.
Step 3: Remove Tire from the Wheel Rim
For this step, you’ll need at least two tire levers or a couple of butter knives to get the job done. We don’t recommend using a screw driver because you might poke the tube or tire, but be very careful if it’s the only thing you have.
Now, you’ll need to pinch the tire and insert the levers just far enough to get the edge of the tire hooked. Once the lever is sitting cosy between the tire and wheel rim, hook the tire and flip it to the outside of the rim and hook the lever onto one of the spokes.
For most children’s bike wheels, this should be all you need to completely remove the tire. However, tires bigger than 12 inches might require using a second lever or screwdriver to work the entire circumference of the tire off the rim.
Step 4: Pull Out the Inner Tube
Once the tire is loose from its rim, it’s time to remove the inner tube. First, you’ll want to unscrew the valve stem and push it all the way down through the rim.
After that, pulling out the old, deflated tube should be quite easy. And if you didn’t manage to get the old tire completely off the wheel rim in our previous step, now would be a good time to take it off if you want to change it as well.
Step 5: Examine and Clean the Interior of the Wheel Rim
Before you can replace anything, it is of the utmost importance to ensure that the wheel rim is in good condition. The wires along the side of the rim could be worn or sticking inward which will cause severe damage to the new tube and tire.
You’ll need to have any damage fixed and clean out the rim in case there are rocks or debris stuck in there. Similarly, wiping off the inside of your new tire will help avoid puncture hazards.
Step 6: Install New Tire and Tube
In this step, you’ll need to install the new tire back on the wheel rim. However, make sure you start with the tire first before moving onto the tube. The levers or flat head screw driver should help you ease one side of the tire in. Next, inflate your tube just a bit to give it some shape and install it back into the tire with your hands.
For the tube, start by aligning the valve stem with the matching hole and thread it through with your fingers or needle nose pliers.
Once that’s done, stuff the rest of the tube snugly back in the new tire and start pushing the tire bead back inside the rim with your hands until you need the help of levers to finish off. Ensure the tube isn’t caught and inflate the tire to the proper pressure which is about 25 pounds of air for most kid’s bikes.
Secure the tire back to its axles, tighten the bolts back on and your children can continue enjoying the great outdoors knowing that they have a handy repairman back at home.
Check also the following 2 videos to get a better idea about what I’ve been talking about.


